How to Connect Your Numbers for SMS Campaigns in ZEPIC
This guide covers how to connect your numbers and sender IDs in ZEPIC, so every SMS campaign goes out from a sender customers recognize.
Connecting numbers in ZEPIC is designed to help e-commerce, D2C, and travel brands set up their SMS sender once, then reuse it across every campaign and automation without repeating setup.
Table of Contents
- • Before You Begin (Prerequisites)
- • What Does Connecting a Number Mean?
- • How to Connect Your Numbers in ZEPIC
- • What to Expect After Connecting
- • Common Setup Scenarios
- • FAQs
- • Explore Related Articles
Before You Begin
- • An active ZEPIC account with the SMS channel enabled.
- • A number or sender ID that is SMS-enabled and approved for your business.
- • Business registration details and documents required by local regulations.
- • Admin access to your ZEPIC workspace settings to add and manage senders.
What Does Connecting a Number Mean?
Connecting a number links a phone number or sender ID to your ZEPIC workspace, so it becomes the name or number customers see when your texts arrive on their phones.
While your WhatsApp number is registered through Meta, SMS senders follow local telecom rules, which need you to use authorized SMS providers like Twilio or ICS Mobile. Once connected, ZEPIC can use the sender in every broadcast, campaign, and flow.
A consistent, verified sender builds customer trust and improves the chances that your messages are delivered.
How to Connect Your Numbers in ZEPIC
1. Open SMS Settings: Navigate to Settings in ZEPIC and open the SMS section. Confirm the channel is enabled for your workspace, as senders can only be added once SMS is active (e.g., ask your ZEPIC contact if the section is missing).
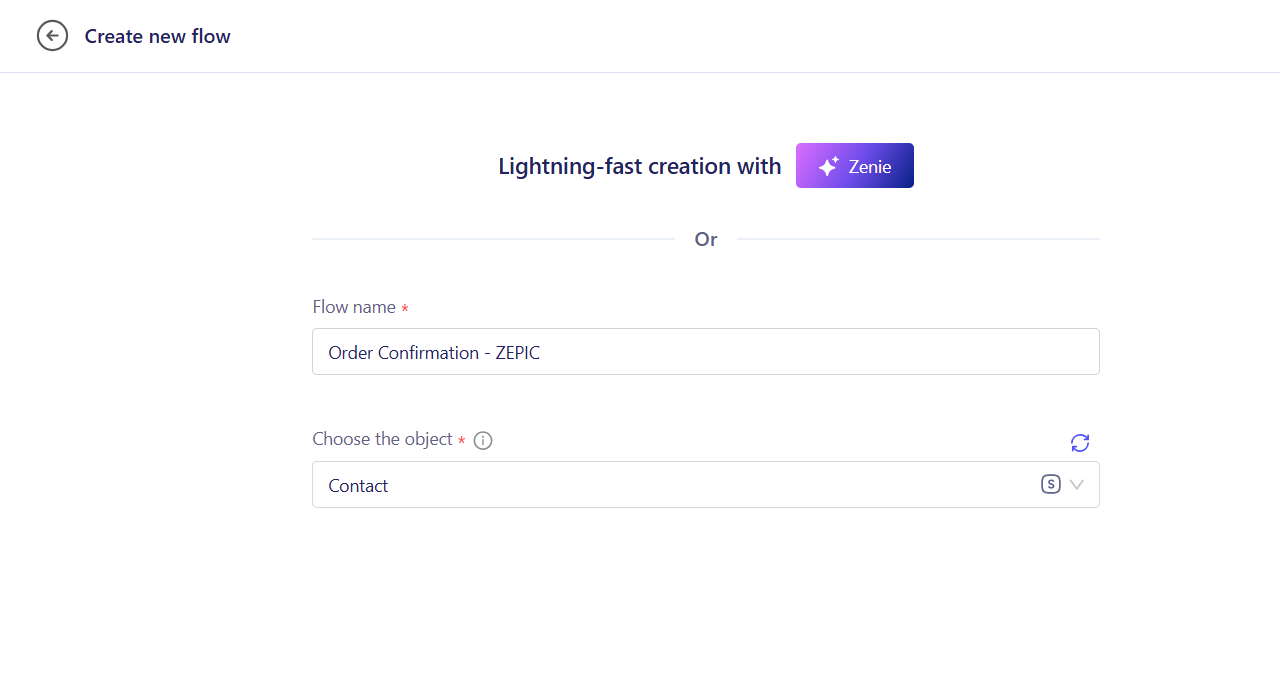
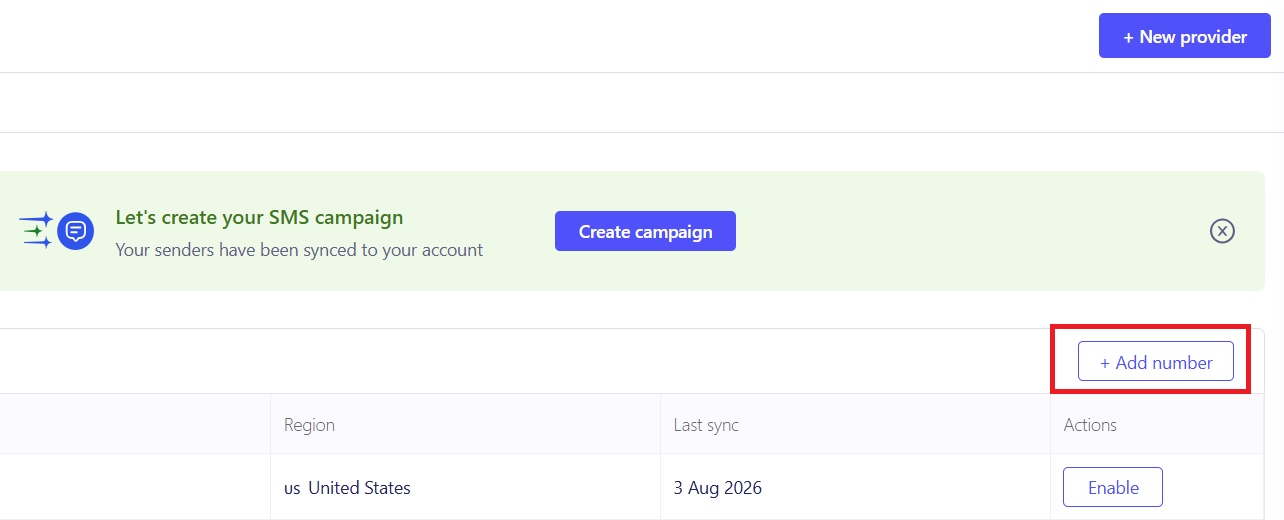
2. Add Your Number or Sender ID: Click to add a new sender, then enter the phone number or sender ID exactly as approved, along with a friendly name (e.g., Main Brand or Regional Store) so your team can identify it.
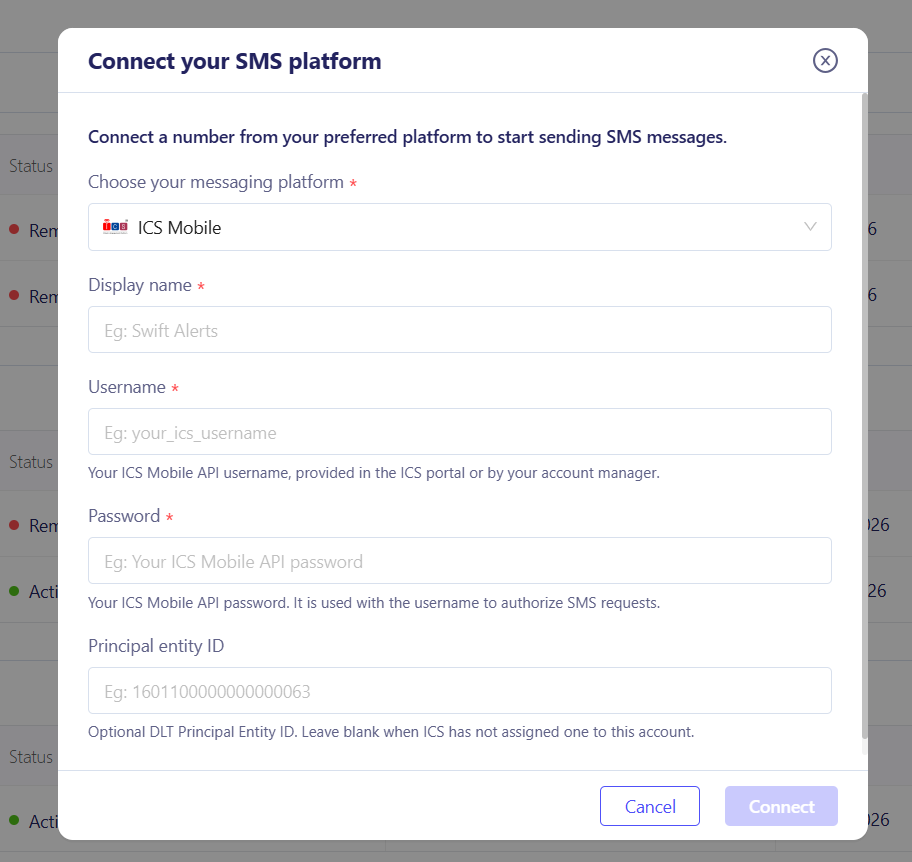
3. Verify the Sender: Enter the required details for the number and the SMS platform it’s linked with, and connect the same.
4. Test and Launch: Send a test SMS to your own number to confirm the sender name and delivery, then select the sender in your first campaign.
What to Expect After Connecting
Once your numbers are connected, your business can send SMS campaigns from a verified, recognizable sender.
Your team does not need to re-enter sender details for each send, meaning that broadcasts, campaigns, and flows all use the same approved sender, while delivery tracking shows exactly what was delivered.
Common Setup Scenarios
- • Brand-Named Sender IDs: A D2C apparel brand connects an approved sender ID carrying its brand name. Customers recognize every text at a glance, which builds trust before they even open the message.
- • Regional Numbers for Multiple Markets: A travel brand connects a local number for each country it serves. Guests receive booking texts from a familiar local sender, and teams can plan campaigns market by market.
- • Multiple Brands or Business Units: A retail group connects a separate sender for each of its brands. Every campaign then goes out under the right name, so customers always recognize the sender.
- • Separate Promotional and Transactional Senders: A hotel group connects one sender for offers and another for booking confirmations and schedule changes. Promotional broadcasts stay apart from time-sensitive alerts, which makes each type easier to manage and lets you apply the right opt-in and template rules to each.
FAQs
Can I connect more than one number or sender ID?
Yes. You can add multiple senders, such as separate ones for promotional and transactional messages, and choose which one to use for each campaign or flow.
Do I need a developer to connect my numbers?
No. Setup happens inside ZEPIC settings without writing code, though you may need your business registration details and any approvals required in your country.
What if my number does not show as Active?
Check that the number is SMS-enabled, that the sender ID or business details match your approved registration exactly, and that any verification code was entered correctly, then retry or contact ZEPIC support.
Explore Related Articles
Was this article helpful?
That’s Great!
Thank you for your feedback
Sorry! We couldn't be helpful
Thank you for your feedback
Feedback sent
We appreciate your effort and will try to fix the article