How to add a new WhatsApp number to ZEPIC
Adding a new WhatsApp number to ZEPIC is essential for scaling your messaging capacity and automation in ZEPIC.
Since ZEPIC operates on the WhatsApp Business API (WABA), this process is typically done by linking your number through the Meta platform.
To do this, the following are the prerequisites:
- You MUST also have the Admin role in both your ZEPIC workspace and the associated Meta Business Manager.
- Your WhatsApp number should NOT be connected with another WhatsApp API provider or WhatsApp Business app
- If you already have a WhatsApp Business app and want to use ZEPIC and the WhatsApp Business app simultaneously, please follow this guide.
- You will be getting an OTP to the mobile number that you are connecting. Make sure you are able to receive the OTP for the number you are onboarding.
Step 1: Initiate setup in ZEPIC
Start the process from your platform settings to register the new number.
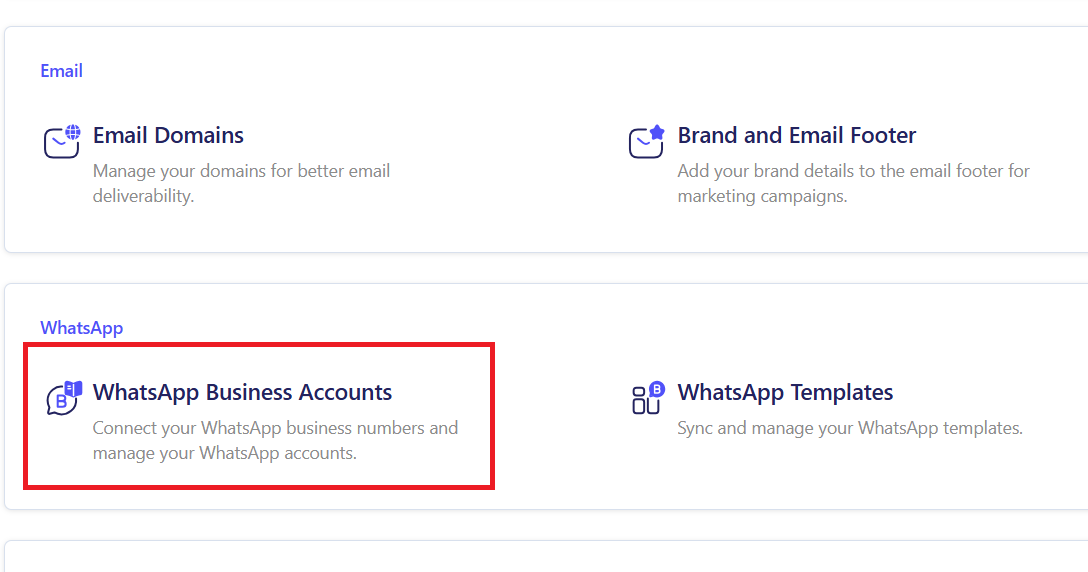
- Navigate to the WhatsApp Business section in the settings section of your ZEPIC Admin dashboard.
- Select WhatsApp and click the option to Add New Number.
- ZEPIC will prompt you to log in with Facebook/Meta. Click this to launch the secure Meta wizard.
Follow these steps to link your Meta accounts and register your new WABA number.
This document will use a brand named PapaEarth, a ZEPIC customer. Each ZEPIC customer receives a dedicated domain to access their account, e.g., https://papaearth.myzepic.com.

Start in ZEPIC: Navigate to Settings > WhatsApp > WhatsApp Business Accounts in your ZEPIC dashboard.
Go to WhatsApp Business Account Settings: Navigate to WhatsApp Settings.

Step 2: Connect via the Meta Wizard
Meta's interface handles the ownership and verification of the new number.
- Log in: Log in using the Admin credentials for your Meta Business Manager account.
- Select/Create Business Account: If you have multiple, select the Meta Business Account that has already been verified.
- Create WhatsApp Account: You will be asked to name the new WhatsApp Business Account (WABA). This name will be tied to the number. If you have an existing account, you can use that..

360Dialog Popup: A 360Dialog popup will appear. 360Dialog is our WhatsApp BSP partner. Please create an account and fill in the details:

Choose “No; this number is not connected to WhatsApp Business API.”

Choose “No”

Click “Start Embedded Signup”

Meta Business Account: You can choose your existing Meta Business Account from the dropdown or create a new one. It’s recommended that you choose an existing account.
Step 3: Configure display name and finalise
After you verify, you will need to provide the details that customers will see.
- Enter display name: Input the name that will appear to customers (e.g., "Acme Corp Support"). In doing this, make sure it complies with Meta's Display Name Guidelines.
- Select a business category: Choose the one that best fits your industry.
- Final confirmation: Review the settings and click Finish. The number is now linked to your WABA and provisioned within ZEPIC.

Create a WhatsApp Business Account: Provide the necessary details carefully.

Create WhatsApp Business Profile: Add publicly viewable information about your company.

- Enter Number: Input the full phone number, including the country code (e.g., +1234567890).
- Choose Verification Method: Select your preferred method: SMS or Voice Call.
Enter OTP: Meta will immediately send a One-Time Password (OTP). Enter this code into the wizard to confirm you own the number.

Completion: You will be redirected to a Thank-You page. Wait for the pop-up to close, then click “Refresh” to see the WABA account.

Final Confirmation: Once the number is successfully verified, you will be redirected back to ZEPIC. Your new WhatsApp sender will appear as Active and ready to use for campaigns and automation.
Post-setup: Go live on ZEPIC
Once the Meta flow is complete, you will be redirected back to the ZEPIC platform. The new number will appear in your channels list and can immediately be used for:
- Sending Template Messages for proactive campaigns.
- Receiving customer messages in the Team Inbox.
- Integrating into Automation Flows and Journeys.
Remember that you will be able to send only 250 per message day. You need to initiate Business Verification by sharing these documents so that you can send more messages from your WhatsApp account.
Was this article helpful?
That’s Great!
Thank you for your feedback
Sorry! We couldn't be helpful
Thank you for your feedback
Feedback sent
We appreciate your effort and will try to fix the article