How to Send Data from Google Sheets to Zepic Using a Webhook?
You can send data from Google Sheets to Zepic in several ways—using Apps Script (free), Zapier, N8N, and more.
In this guide, we’ll walk you through the simplest method: sending data from Google Sheets to Zepic using a webhook URL.
1. Create a Webhook Source in Zepic
Log in to your Zepic account.
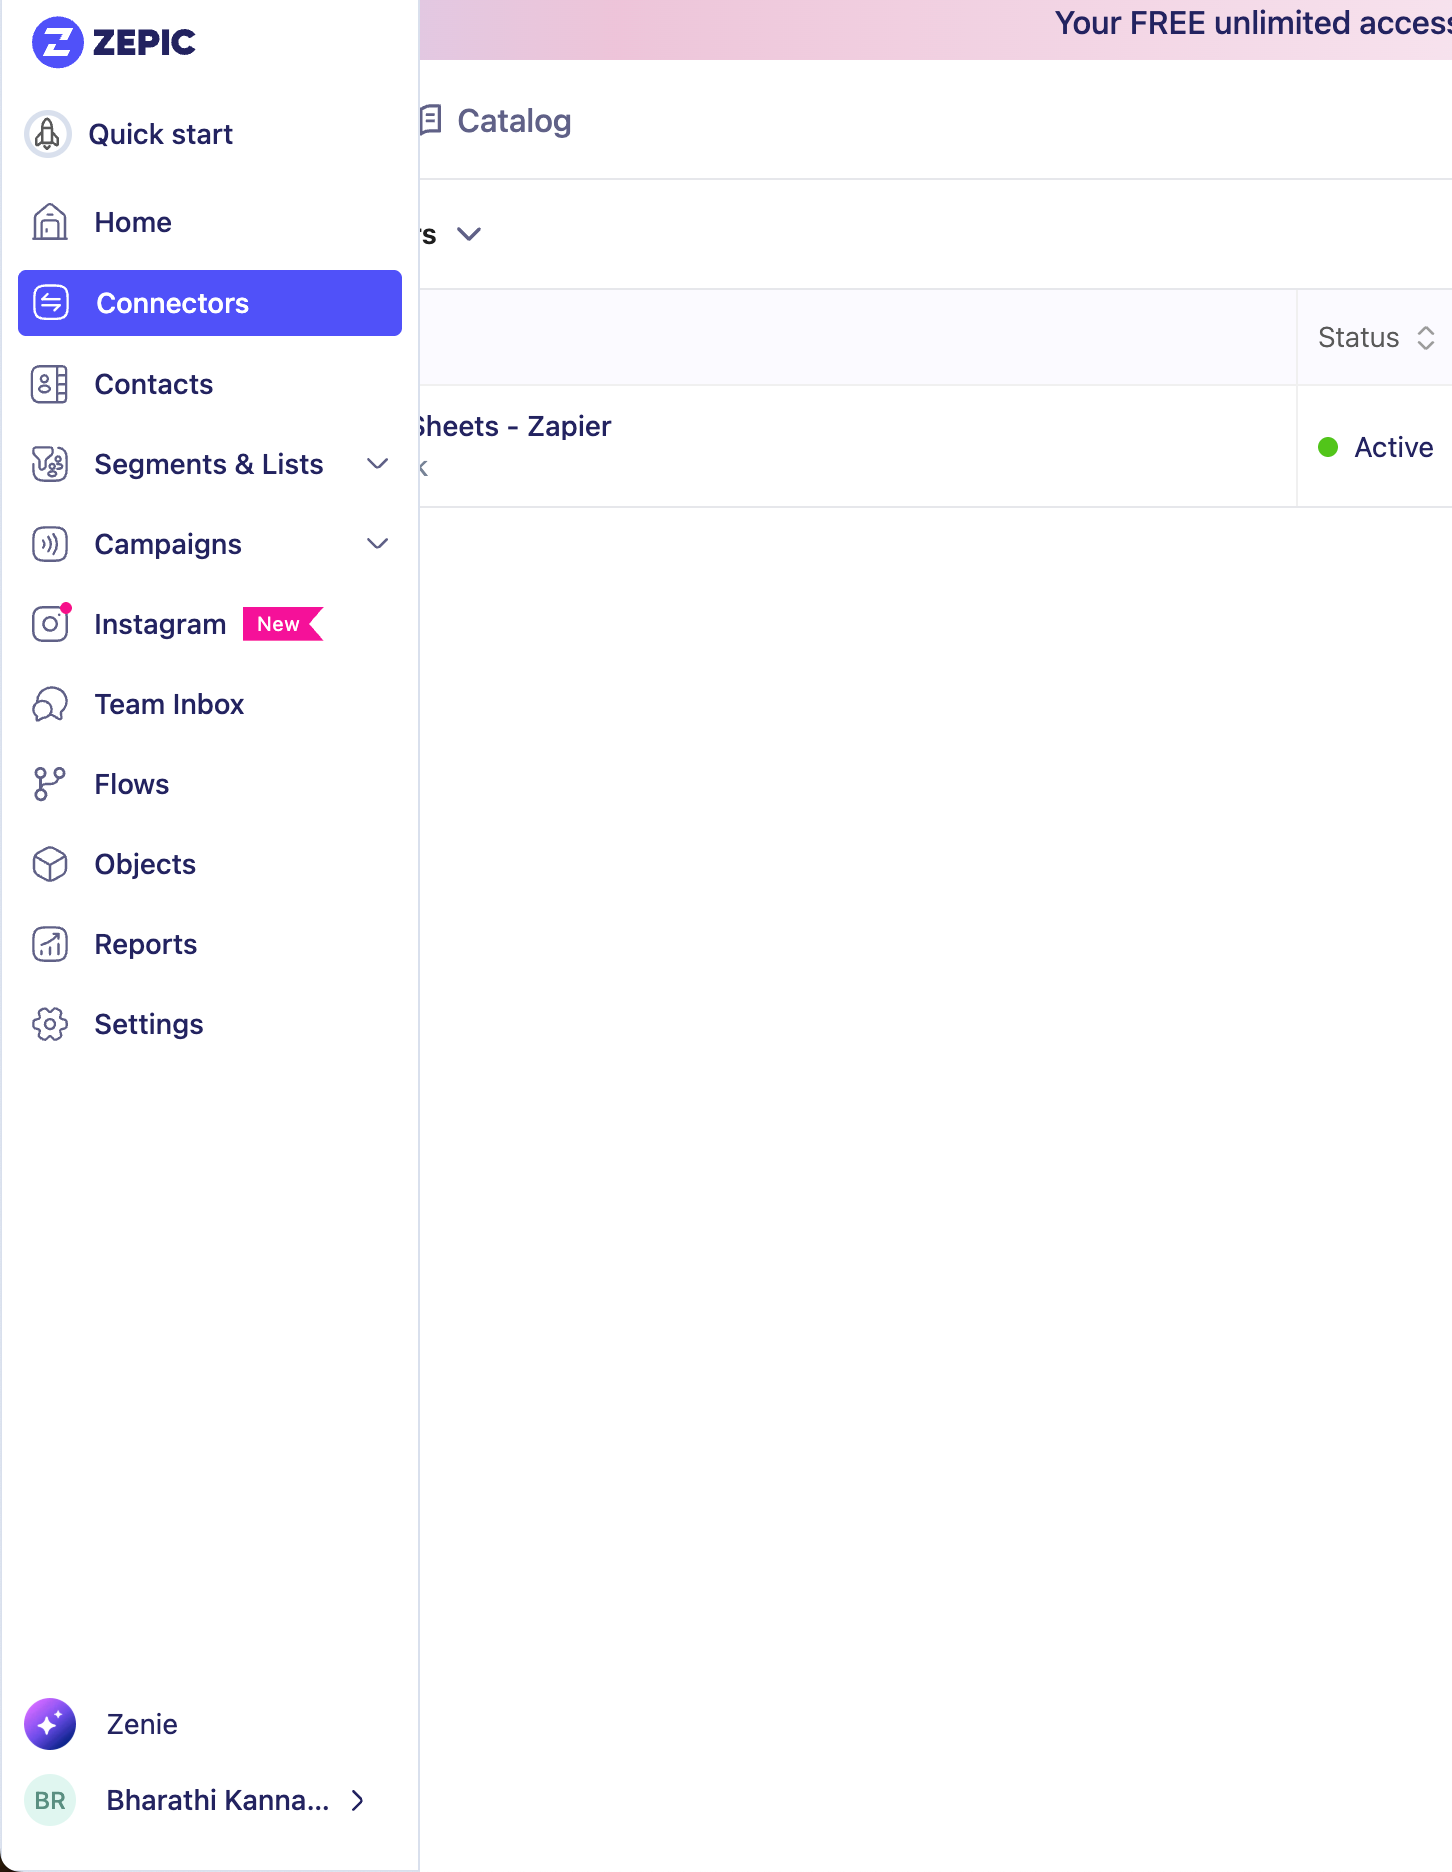
Go to Connectors.
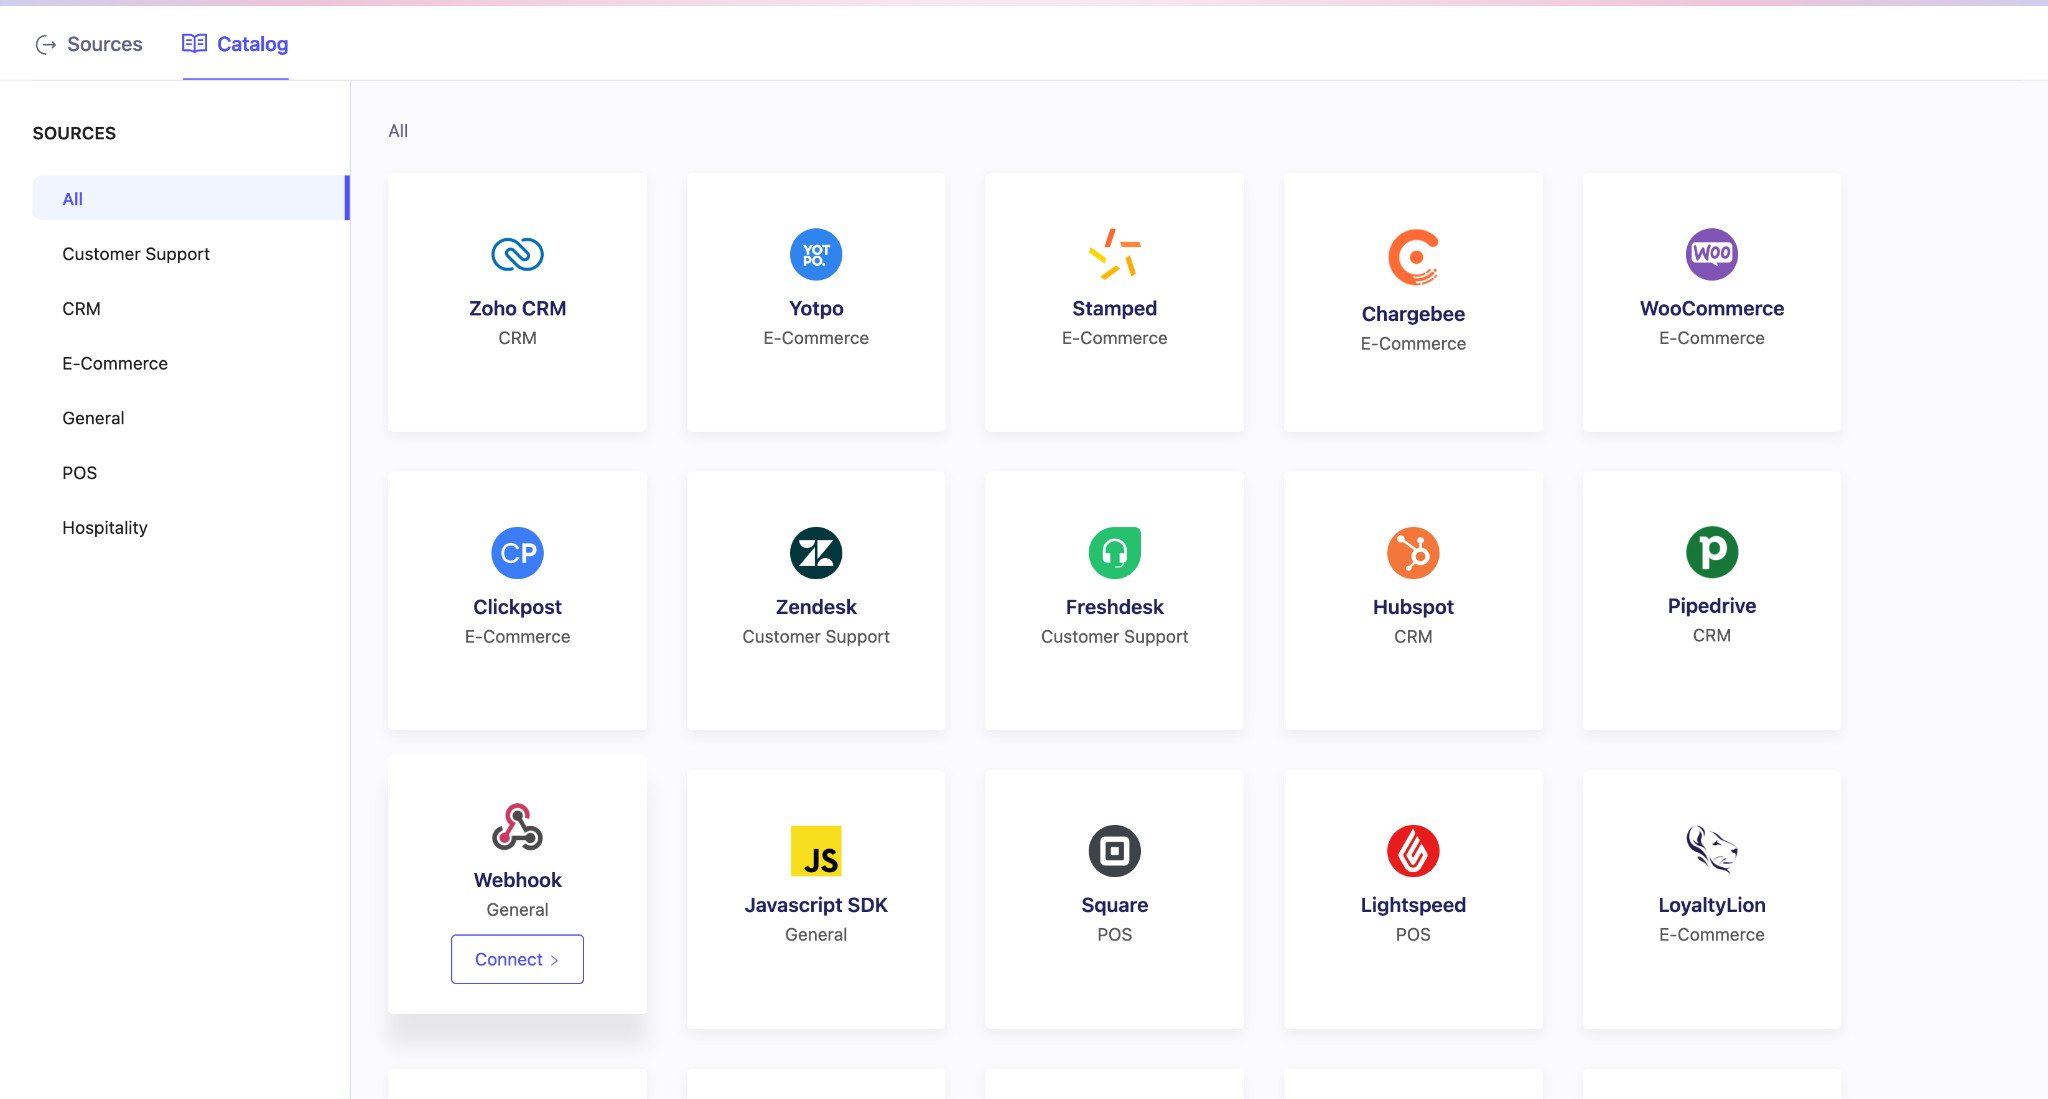
Click Create Source and choose Webhook.
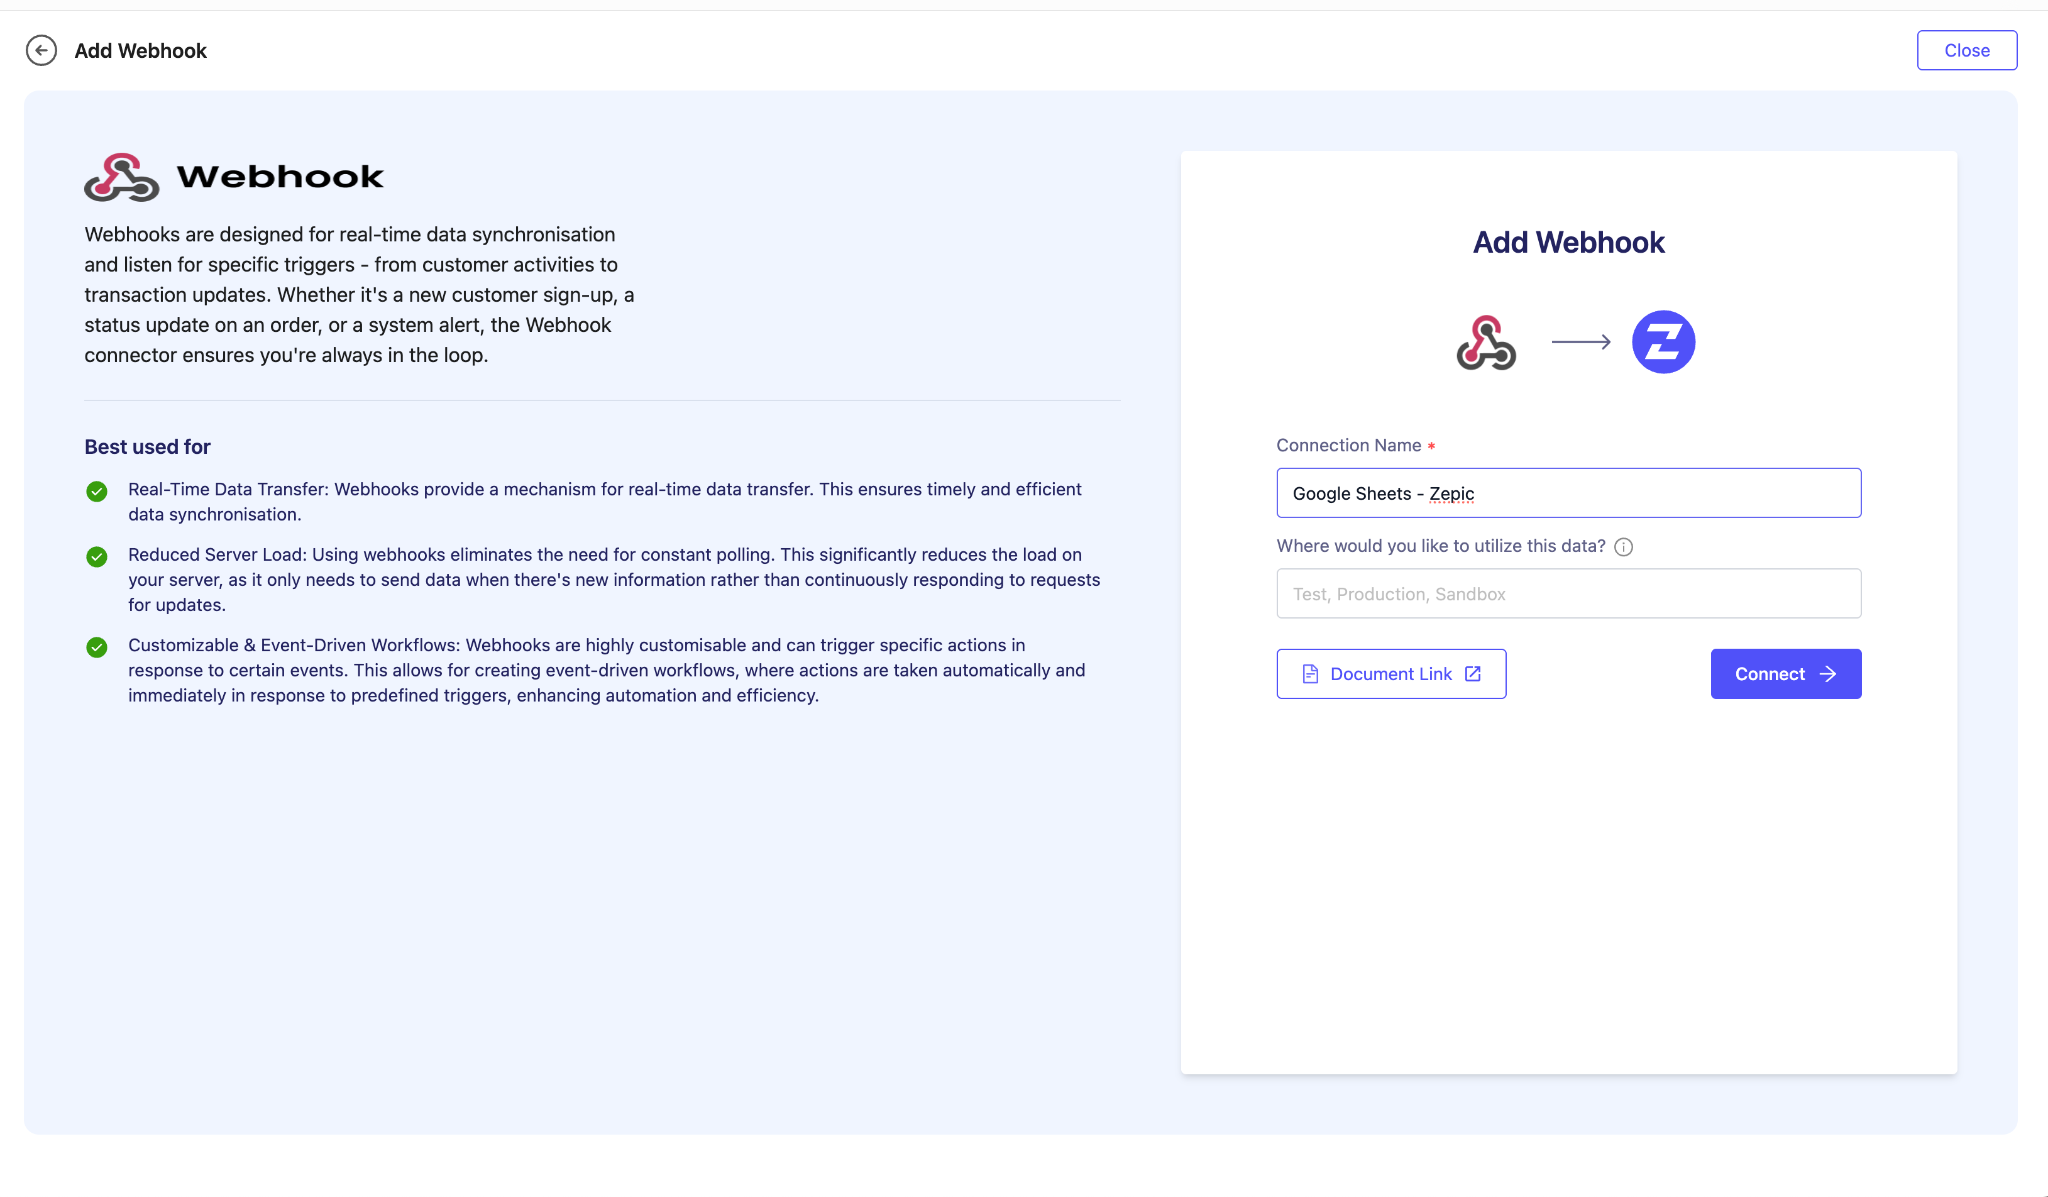
Enter a name for your webhook and click Connect.
Click Create Source, and choose Webhook
Enter a name, and click Connect
Zepic will now generate a webhook URL for you. It will look similar to:https://bk-co.myzepic.com/api/v1/hooks/collect/fc6b2d54-6196-4e8b-86c5-647790a5ebe0
Click Next
2. Set Up the Webhook Payload
On the left-hand menu, select Webhook – Payload.
Enter a payload name and click Add.

Sample Mode (Recommended First Step)
To receive sample data, add /sample at the end of your webhook URL.
Actual Webhook URL:
https://bk-co.myzepic.com/api/v1/hooks/collect/…/Sample Data URL:
https://bk-co.myzepic.com/api/v1/hooks/collect/…/sample
You’ll use the sample URL in your first test.
3. Add Apps Script in Google Sheets
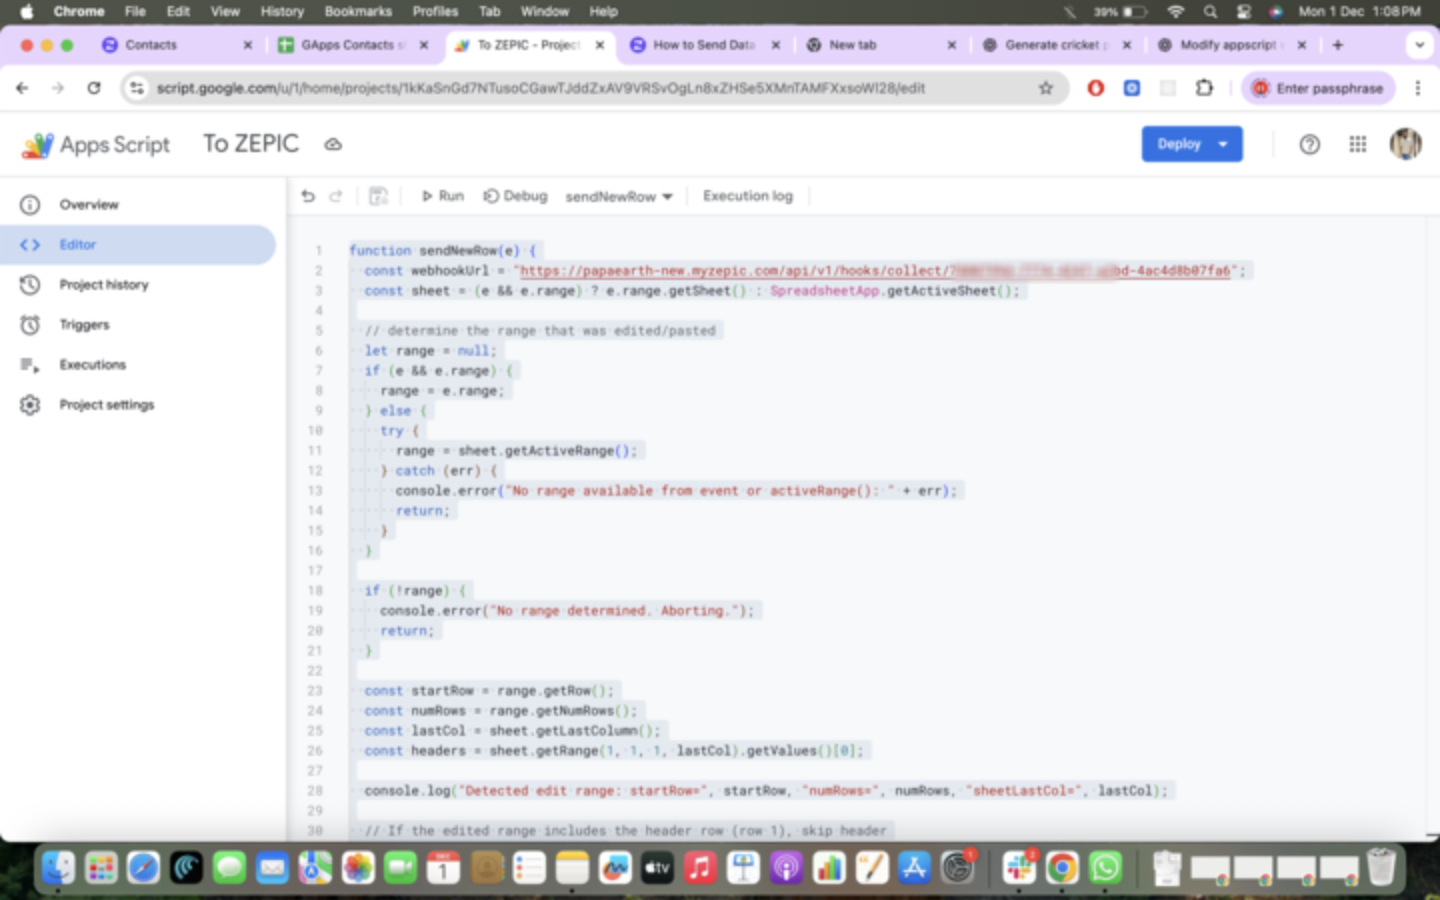
Open your Google Sheet.
Click Extensions → Apps Script.
Remove any existing code and paste the script below.
Replace <ZEPIC URL> with your Sample Data URL for testing.

In the editor, copy and paste the code. Change the URL to sample URL for now, we can change it to the actual URL after configuration
function sendNewRow(e) {
  const webhookUrl = "<ZEPIC_URL>";
  const sheet = (e && e.range) ? e.range.getSheet() : SpreadsheetApp.getActiveSheet();

  // determine the range that was edited/pasted
  let range = null;
  if (e && e.range) {
    range = e.range;
  } else {
    try {
      range = sheet.getActiveRange();
    } catch (err) {
      console.error("No range available from event or activeRange(): " + err);
      return;
    }
  }

  if (!range) {
    console.error("No range determined. Aborting.");
    return;
  }

  const startRow = range.getRow();
  const numRows = range.getNumRows();
  const lastCol = sheet.getLastColumn();
  const headers = sheet.getRange(1, 1, 1, lastCol).getValues()[0];

  console.log("Detected edit range: startRow=", startRow, "numRows=", numRows, "sheetLastCol=", lastCol);

  // If the edited range includes the header row (row 1), skip header
  let actualStartRow = startRow;
  let actualNumRows = numRows;
  if (startRow <= 1) {
    const bottomRow = typeof range.getLastRow === 'function' ? range.getLastRow() : (startRow + numRows - 1);
    actualStartRow = 2;
    actualNumRows = Math.max(0, bottomRow - 1);
  }

  if (actualNumRows <= 0) {
    console.log("No non-header rows to send (actualNumRows=" + actualNumRows + ").");
    return;
  }

  // Read the block of changed rows
  const block = sheet.getRange(actualStartRow, 1, actualNumRows, lastCol).getValues();

  // Helper: consider cell empty if null/empty/whitespace or single '-' / em-dash placeholder
  function isEmptyCell(cell) {
    if (cell === null || cell === undefined) return true;
    const s = String(cell).trim();
    if (s === "") return true;
    // treat common placeholder dashes as empty
    if (s === "-" || s === "—" || s === "–") return true;
    return false;
  }

  block.forEach((rowValues, idx) => {
    const rowNumber = actualStartRow + idx;

    // If every cell in the row is empty, skip sending
    const allEmpty = rowValues.every(isEmptyCell);
    if (allEmpty) {
      console.log("Skipping empty row", rowNumber);
      return;
    }

    const dataObj = {};
    rowValues.forEach((value, i) => {
      let header = headers[i];
      if (!header || header.toString().trim() === "") {
        header = "column_" + (i + 1);
      }
      dataObj[header] = value;
    });

    const payload = {
      timestamp: new Date().toISOString(),
      rowNumber: rowNumber,
      data: dataObj
    };

    try {
      const resp = UrlFetchApp.fetch(webhookUrl, {
        method: "post",
        contentType: "application/json",
        payload: JSON.stringify(payload),
        muteHttpExceptions: true
      });
      console.log("Sent row", rowNumber, "status:", resp.getResponseCode());
    } catch (err) {
      console.error("Failed to send row " + rowNumber + ": " + err);
    }
  });
}
4. Create a Trigger
To ensure the script sends data automatically whenever a new row is added:
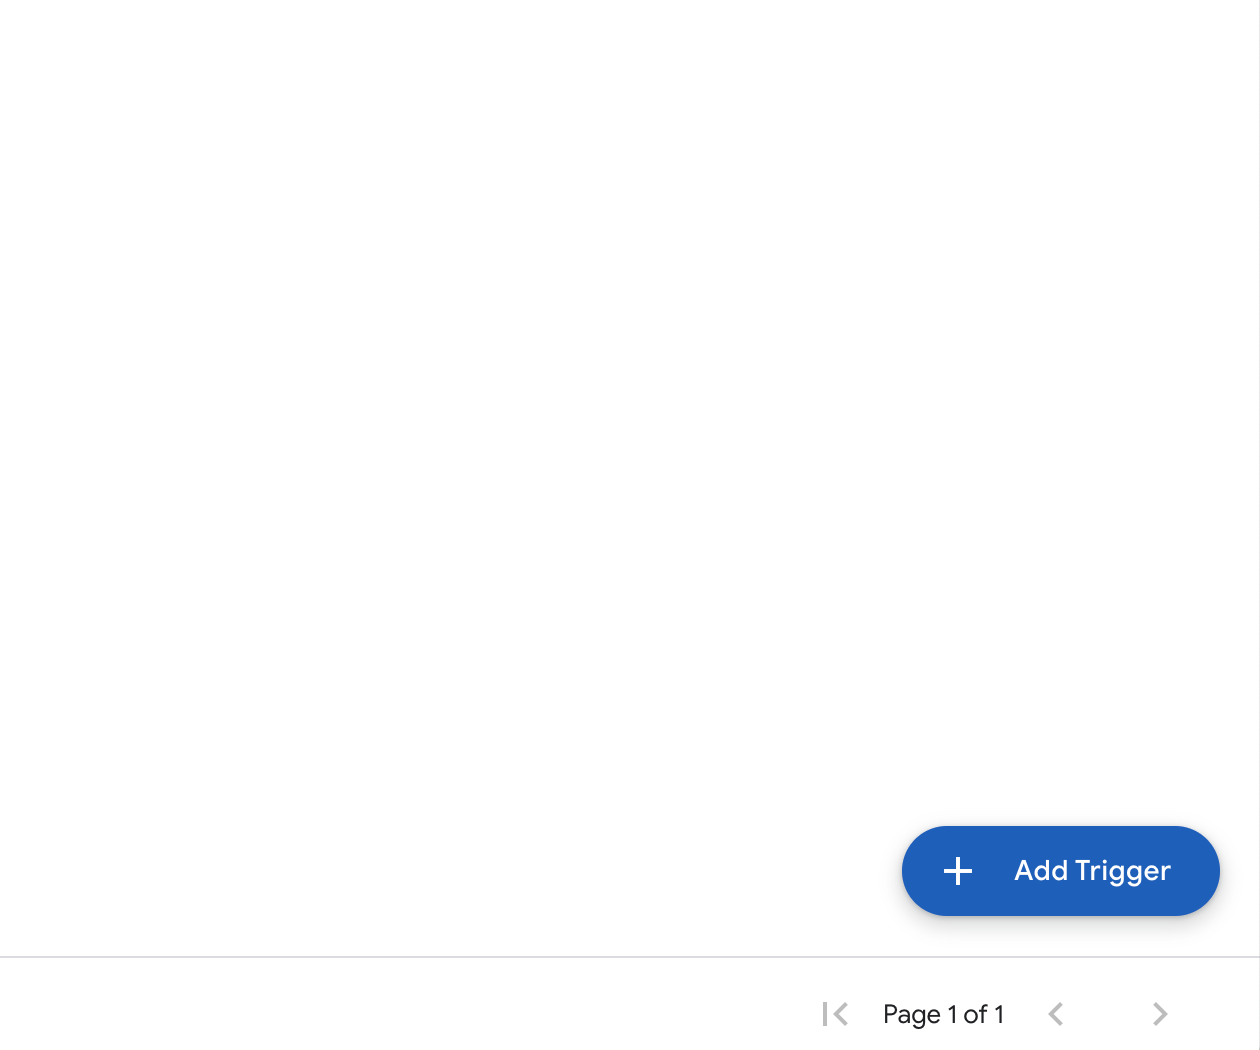
In Apps Script, click Triggers.
Click Add Trigger.
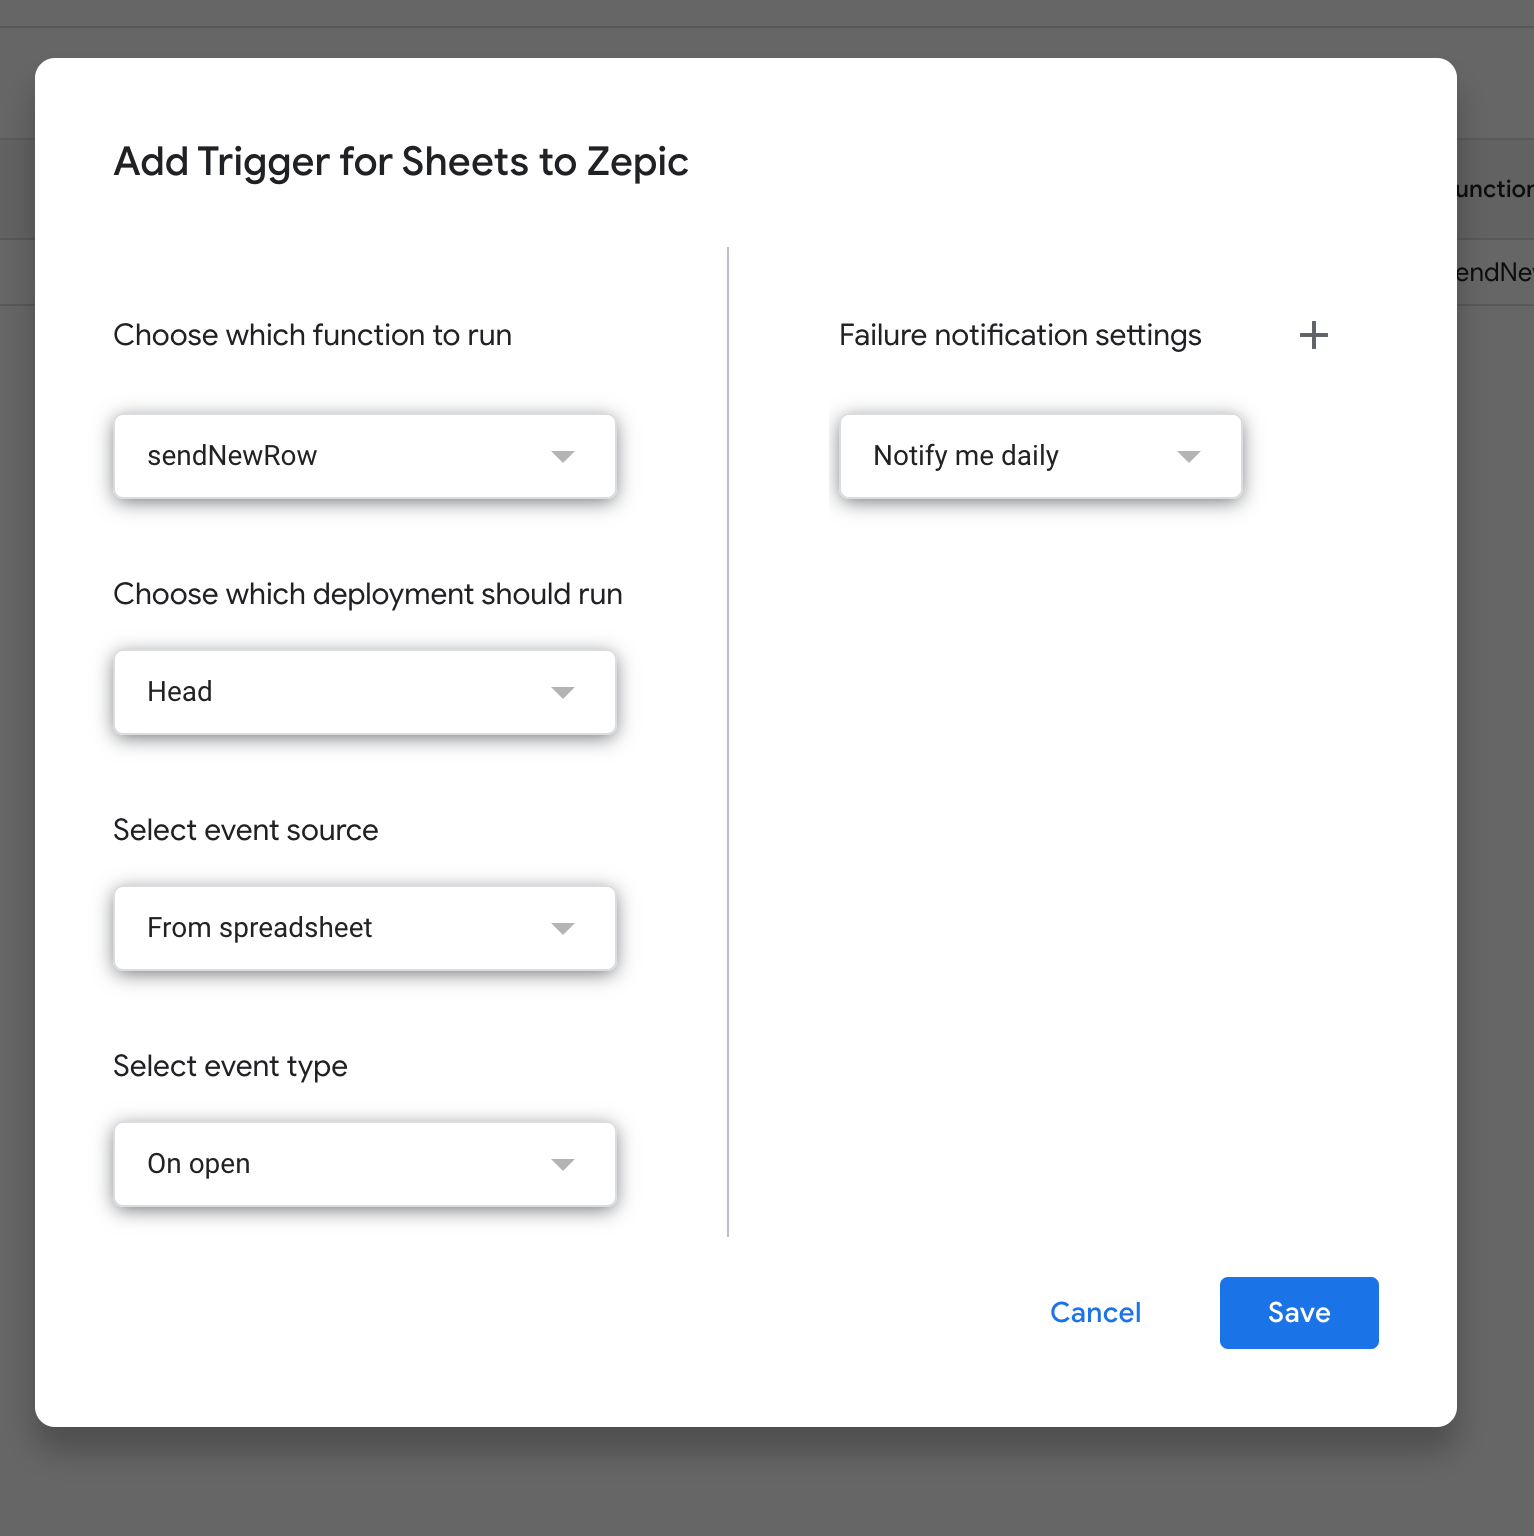
Choose the function sendNewRow.
Set the event type to On change or On edit.
Save.
Choose the function and click save:
Now Google Sheets will send new rows to Zepic automatically.
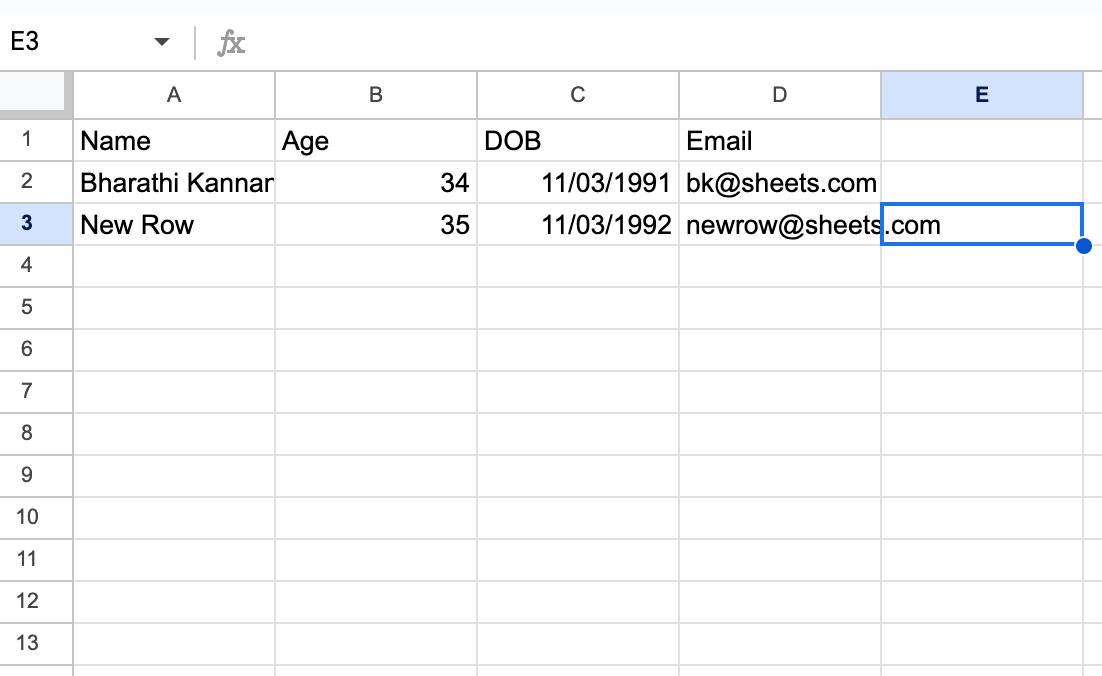
5. Add a Row to Test the Webhook
Return to your sheet and enter a new row of data. You should now see the sample data appear in Zepic.
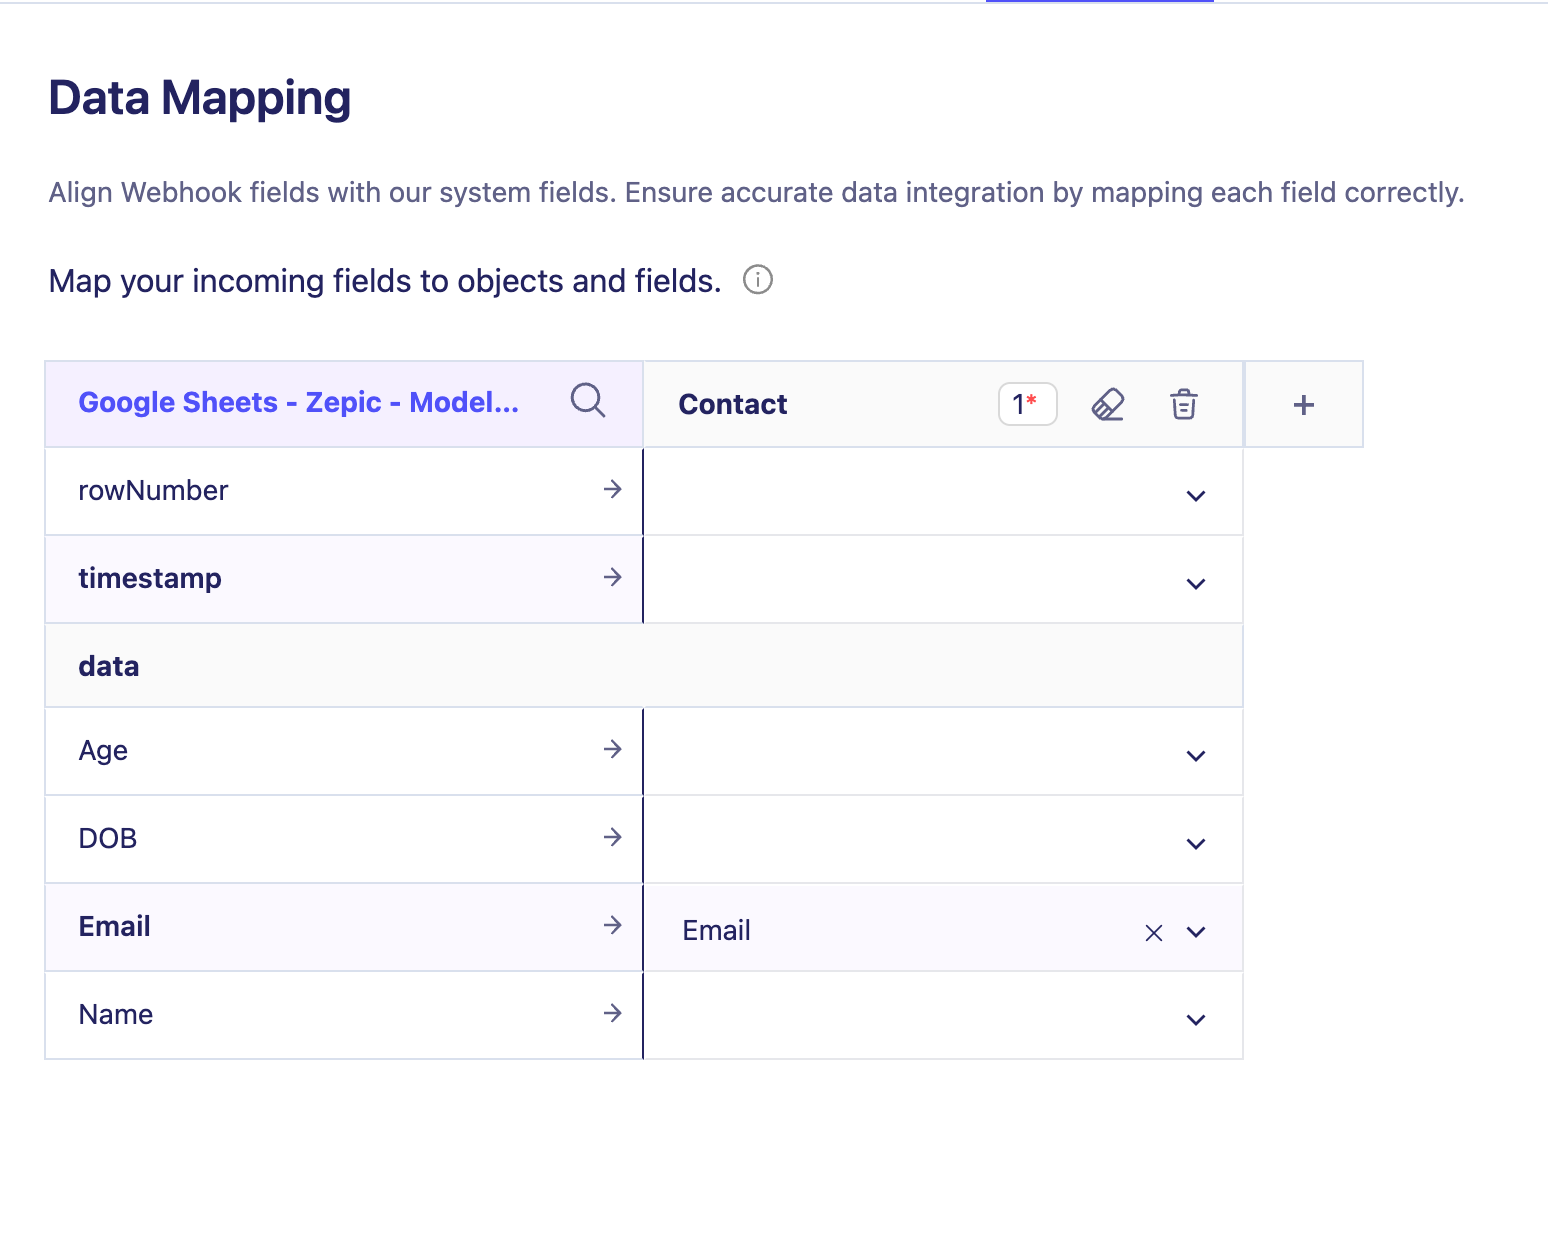
6. Map the Incoming Data in Zepic
Open your webhook source in Zepic.
Choose the sample data you want to use.
Select the object you want to store the data in.
Map the fields from the sample to your data model.
Click Connect.
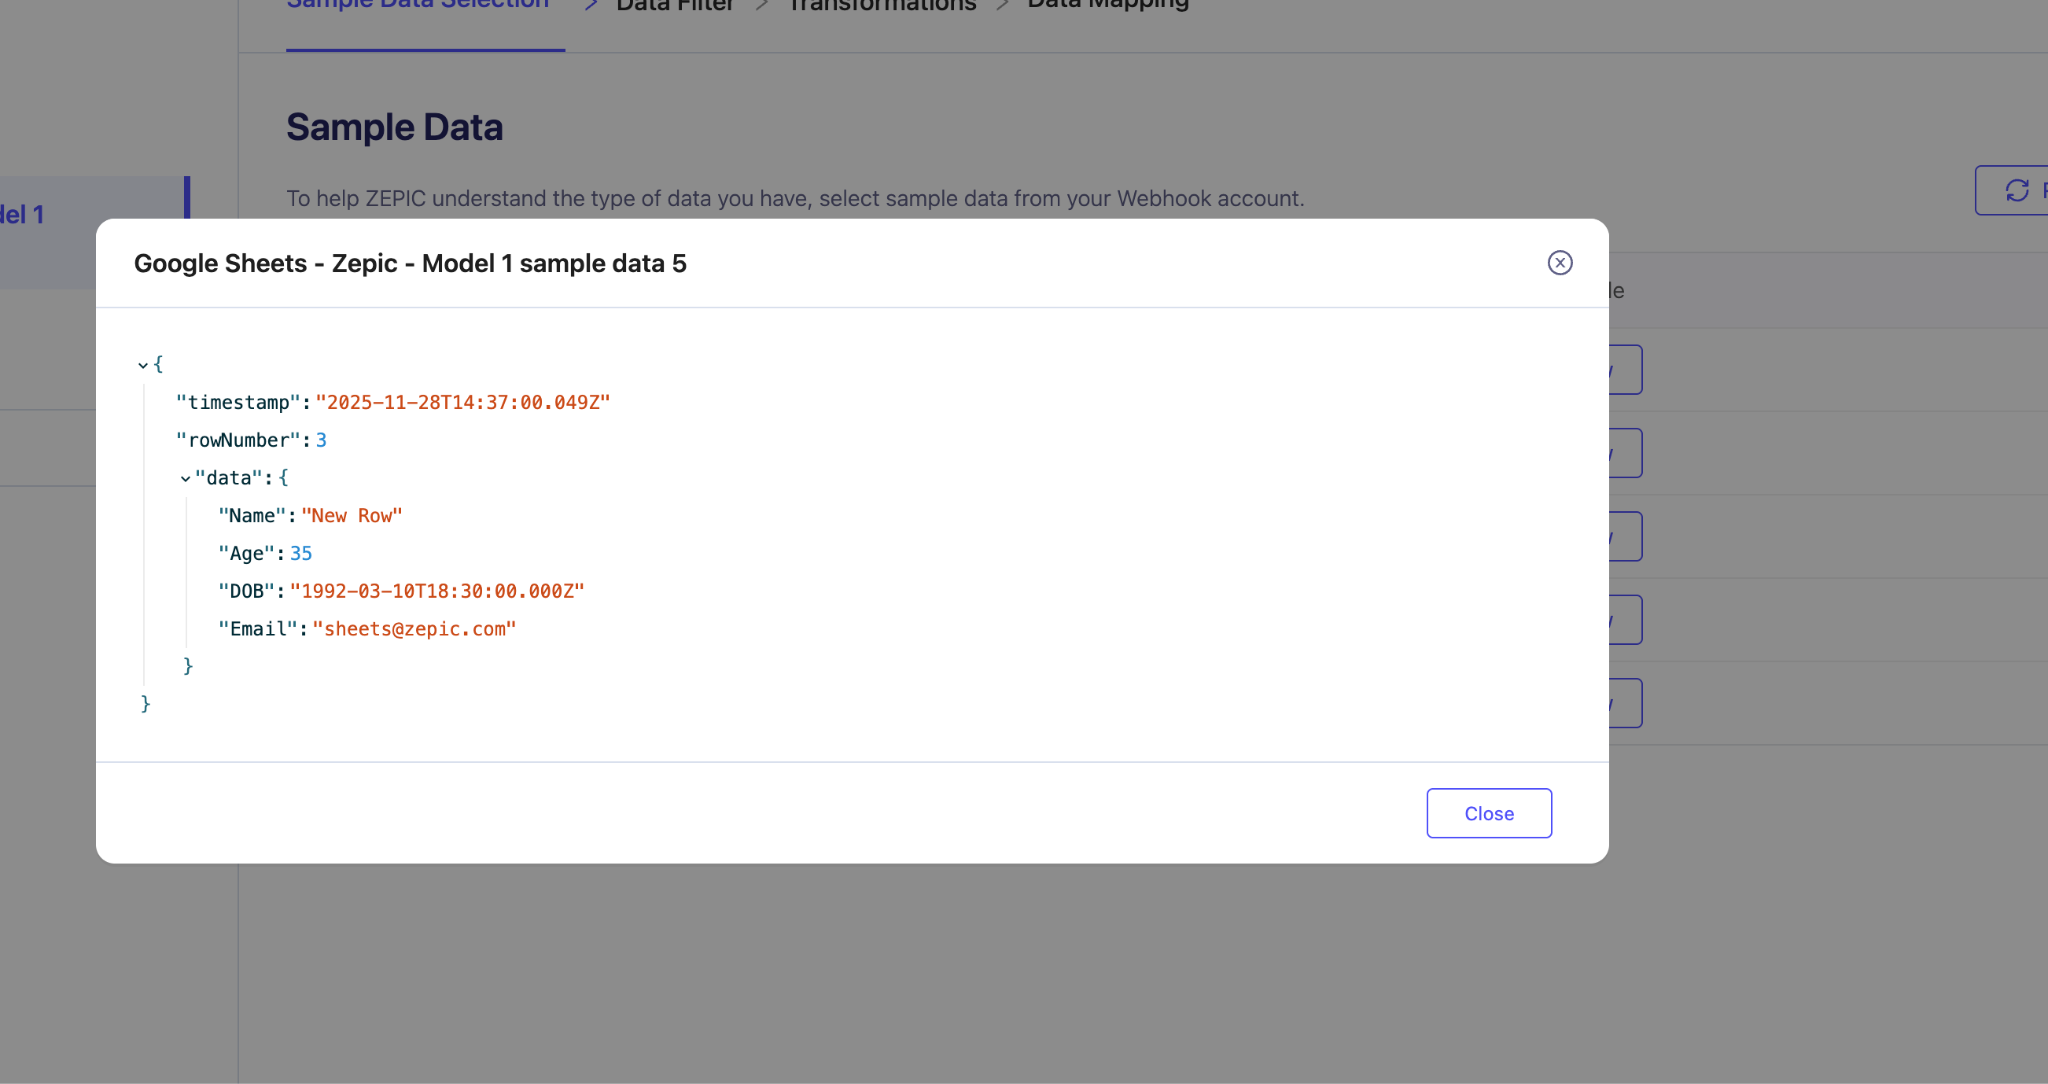
In the mapping, choose the object you want to store, and map the fields.
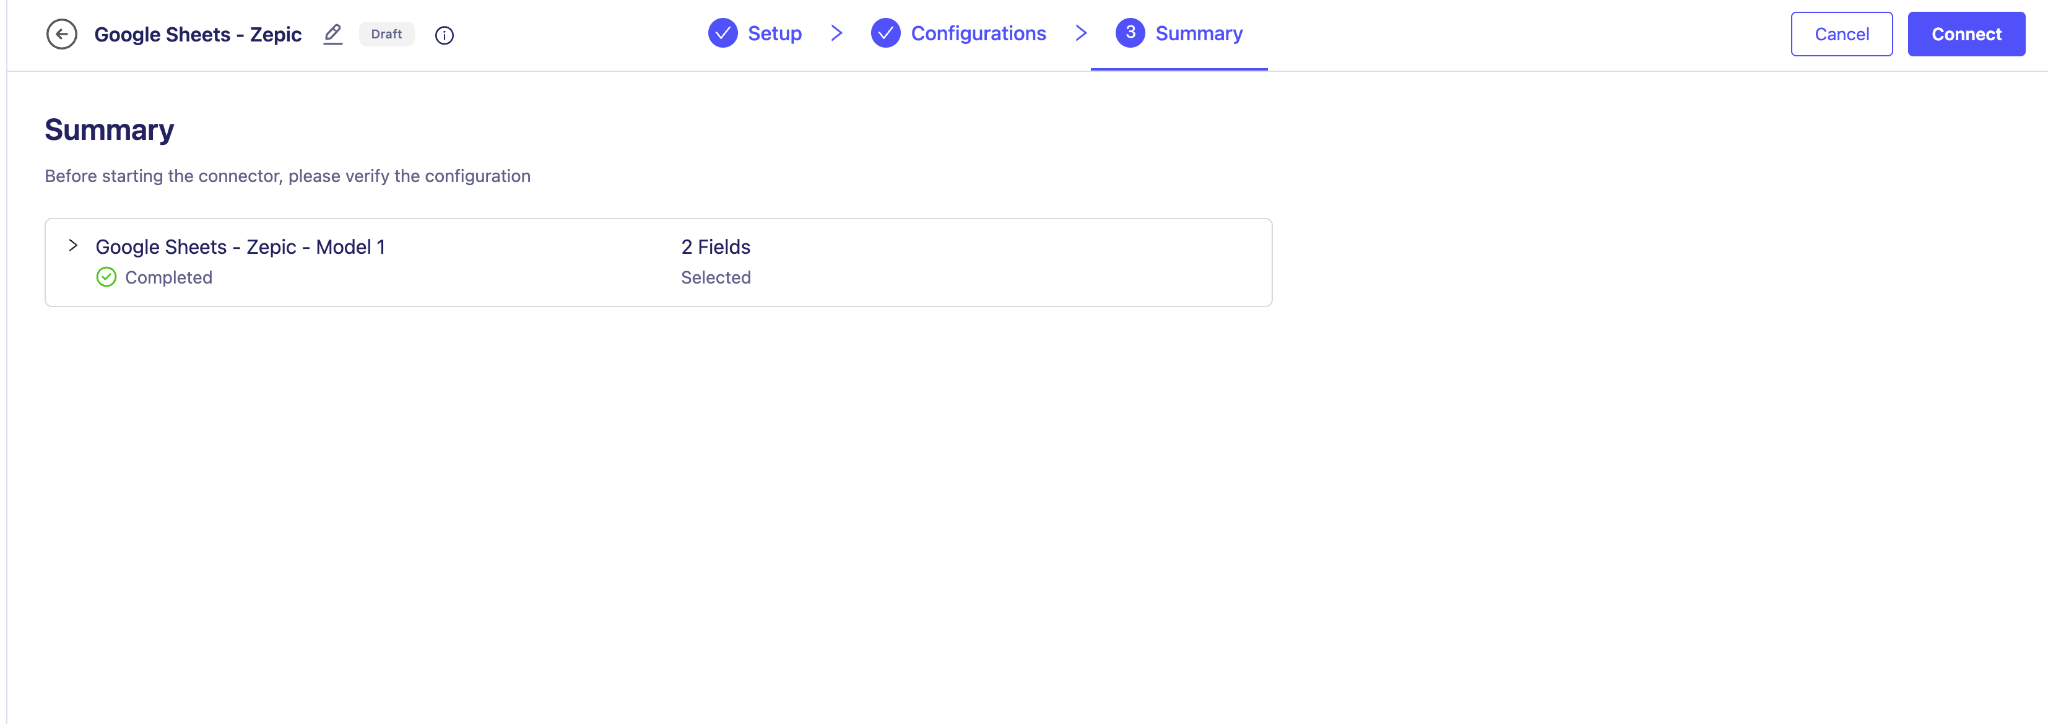
Your connector is now live!
7. Switch to the Actual Webhook URL
Finally, return to the Apps Script and replace the Sample URL with your Actual Webhook URL.
Save the script, and you're all set! ?

Every time you add a new row in Google Sheets, Zepic will automatically receive the data
Was this article helpful?
That’s Great!
Thank you for your feedback
Sorry! We couldn't be helpful
Thank you for your feedback
Feedback sent
We appreciate your effort and will try to fix the article