What are the prerequisites to setting up an email campaign?
There are two main prerequisites for sending Email Campaigns via ZEPIC:
Domain verification
Footer and business details
Domain Verification:
At ZEPIC, we require DKIM (DomainKeys Identified Mail) to enhance email deliverability. Emails with DKIM signatures are less likely to be flagged as spam, ensuring your messages reach their intended inboxes. Implementing DKIM is a crucial step in our process, as it authenticates the sender and guarantees message integrity, reducing the risk of email spoofing and phishing. This digital signature is added to email headers and verified using a public key stored in the sender's DNS records. Major email providers like Google and Yahoo have recently emphasized the importance of DKIM, along with SPF and DMARC, for bulk senders to improve email security and trust.
To get started with this in ZEPIC, you need to follow these two simple steps to verify your domain:
Enter your sender email domain in ZEPIC and get the DKIM records
Enter the DKIM records in your DNS provider
How to verify your domain?
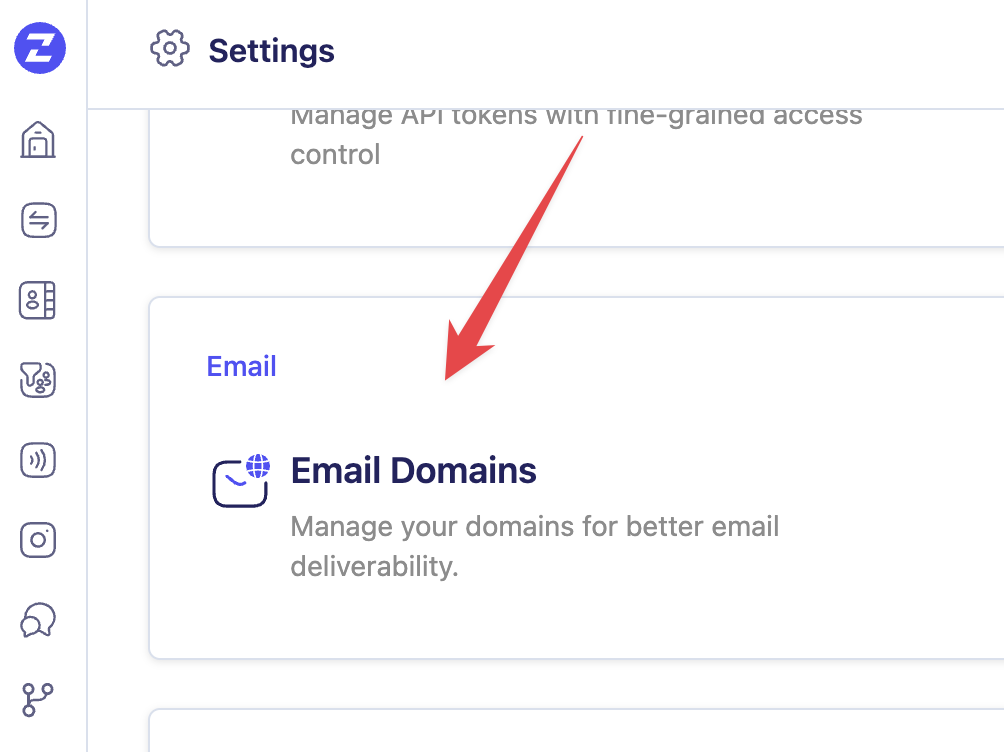
- Navigate to the Settings icon from the left Nav Bar, and click on Email Domains under Email

- Click on the
 button
 - Enter your domain name
- Now copy the DNS records below and add them to your DNS manager. Your DNS manager needs up to 48 hours to process these records.
- Once your DNS manager processes the records, the status changes from “Pending” to “Verified”
- If the status remains "Pending" after 48 hours, click "Verify domain."
Footer details
To send an email campaign in ZEPIC, you must include details about your company or business unit in the footer. This isn't just a legal requirement per the CAN-SPAM Act; it also adds a personal touch by informing recipients about the company and the people behind it. Think of the footer as the "About Us" page for your emails. If your company has multiple departments or units, ZEPIC allows you to add multiple footers, ensuring each campaign is tailored to its specific audience.
To get started, navigate to the Settings section in ZEPIC and add a footer.
Click on Settings in the left navigation bar
Click on Marketing Email Settings.
Click on the Create new button
and add all your brand details — Company name, address, website, and social media links
Click on Save,

and your footer is now ready to be used in your campaigns.
Was this article helpful?
That’s Great!
Thank you for your feedback
Sorry! We couldn't be helpful
Thank you for your feedback
Feedback sent
We appreciate your effort and will try to fix the article


